Before engaging a pipe repair service, identify and diagnose leak sources through observation and regular inspections. Ensure you have the necessary tools and understand common causes of corrosion for prevention. Learn to detect leaks through sounds, moisture, and visible damage, deciding when to call a same-day plumber. This guide assists DIYers with fixing leaking faucet pipes, emphasizing turning off water supplies first. Common issues include corroded pipes, loose connections, and damaged gaskets, with suggestions for suitable replacement parts and proper tightening techniques. Professional assistance is recommended for extensive or uncertain repairs.
“Discover how to effortlessly tackle a common household issue—a leaking faucet pipe. This comprehensive guide offers a step-by-step approach to identifying and rectifying the source of the leak, ensuring an effective DIY solution. Before you begin, arm yourself with the right tools and materials, making the repair process swift and efficient. From assessing the damage to implementing permanent fixes, this article is your go-to resource for self-sustaining home maintenance, empowering you to manage leaky pipes like a pro. Embrace do-it-yourself prowess with our detailed instructions, transforming you into an expert pipe repair service right in your own home.”
- Assess and Understand the Leak's Source
- Gather Tools and Materials for Repair
- Step-by-Step Guide to Fixing the Pipe
Assess and Understand the Leak's Source
Before diving into any pipe repair service, it’s crucial to assess and understand the source of the leak. Start by observing where the water is seeping from. Is it at the base of the faucet or higher up on the pipe? Leaks can occur due to worn-out gaskets, corroded pipes, or even a loose connection between the faucet and the supply lines. Identifying the exact location will save time and help you determine whether the issue is surface-level or indicative of more severe underlying problems, like a potential sewer line repair cost.
Regularly checking for hidden leaks can prevent significant damage to your plumbing system. Over time, small drips can add up to substantial waste and even contribute to preventing pipe damage. Look out for unexpected water stains or mold growth behind walls or under sinks, as these could be signs of identifying hidden leaks that require immediate attention from a professional pipe repair service.
Gather Tools and Materials for Repair

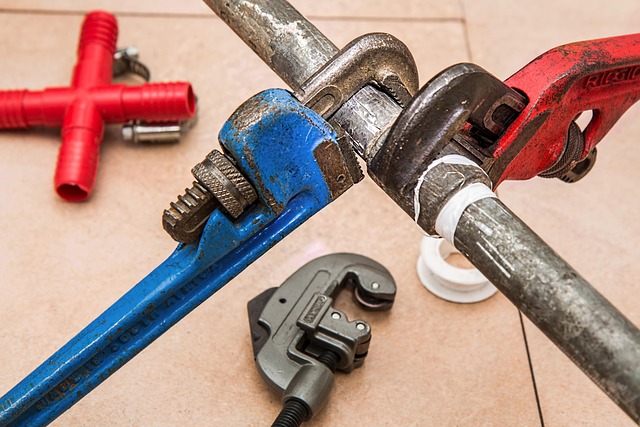
Before tackling a leaking faucet pipe, it’s essential to gather the right tools and materials for an effective pipe repair service. This typically includes a wrench or pliers for tight connections, teflon tape or pipe compound for sealing joints, and possibly a new washer or O-ring. For more complex issues, such as corroded pipes, you may need specialized tools like a pipe cutter or a set of wrenches designed for different pipe sizes.
Understanding the common causes of pipe corrosion—like old pipes, mineral buildup, or poor water quality—can help in preventing future leaks. If you’re dealing with an existing leak, one crucial step is to learn how to check for pipe leaks. This involves listening for dripping sounds, checking for moisture around pipes, and examining the faucet itself for any visible signs of damage or corrosion. Having these knowledge points in mind ensures a smoother repair process, especially when considering options like calling in a same-day service plumber for more challenging fixes.
Step-by-Step Guide to Fixing the Pipe

Fixing a leaking faucet pipe is a common DIY task that can save you money and prevent further damage. Here’s a step-by-step guide to tackling this issue yourself. Start by turning off the water supply to your faucet. This crucial step prevents any flooding while you work on the repair. Next, remove the faucet handle and inspect the pipe for damage or wear. Common culprits behind leaks include corroded pipes, loose connections, or damaged gaskets.
Once identified, replace the faulty part with a new one suitable for your pipe material. For instance, if it’s a corroded pipe, opt for a durable stainless steel replacement. After installing the new part, ensure all connections are tight but not overly so to avoid stripping threads. Reattach the faucet handle and turn on the water supply. Test the repair by turning on the faucet and checking for any leaks. If you encounter persistent issues, consider reaching out to professional pipe repair services, especially after a flood when damage may be extensive or when you’re unsure about the scope of work required. Remember, knowing when to call a plumber can save you from further complications.
Fixing a leaking faucet pipe is a manageable DIY project that can save you money on water bills and prevent further damage. By understanding the source of the leak and gathering the right tools, you’re well on your way to becoming your own reliable pipe repair service. With our step-by-step guide, you’ll gain the skills to tackle future repairs with confidence, ensuring a steady flow of water without unnecessary leaks.